Box Fan PC case build
Box Fan PC Case
I decided to document the PC case I made, mainly because I plan to make another one soon and it will help to write down what I learned last time. (Unfortunately I don’t have any in-progress pictures.)
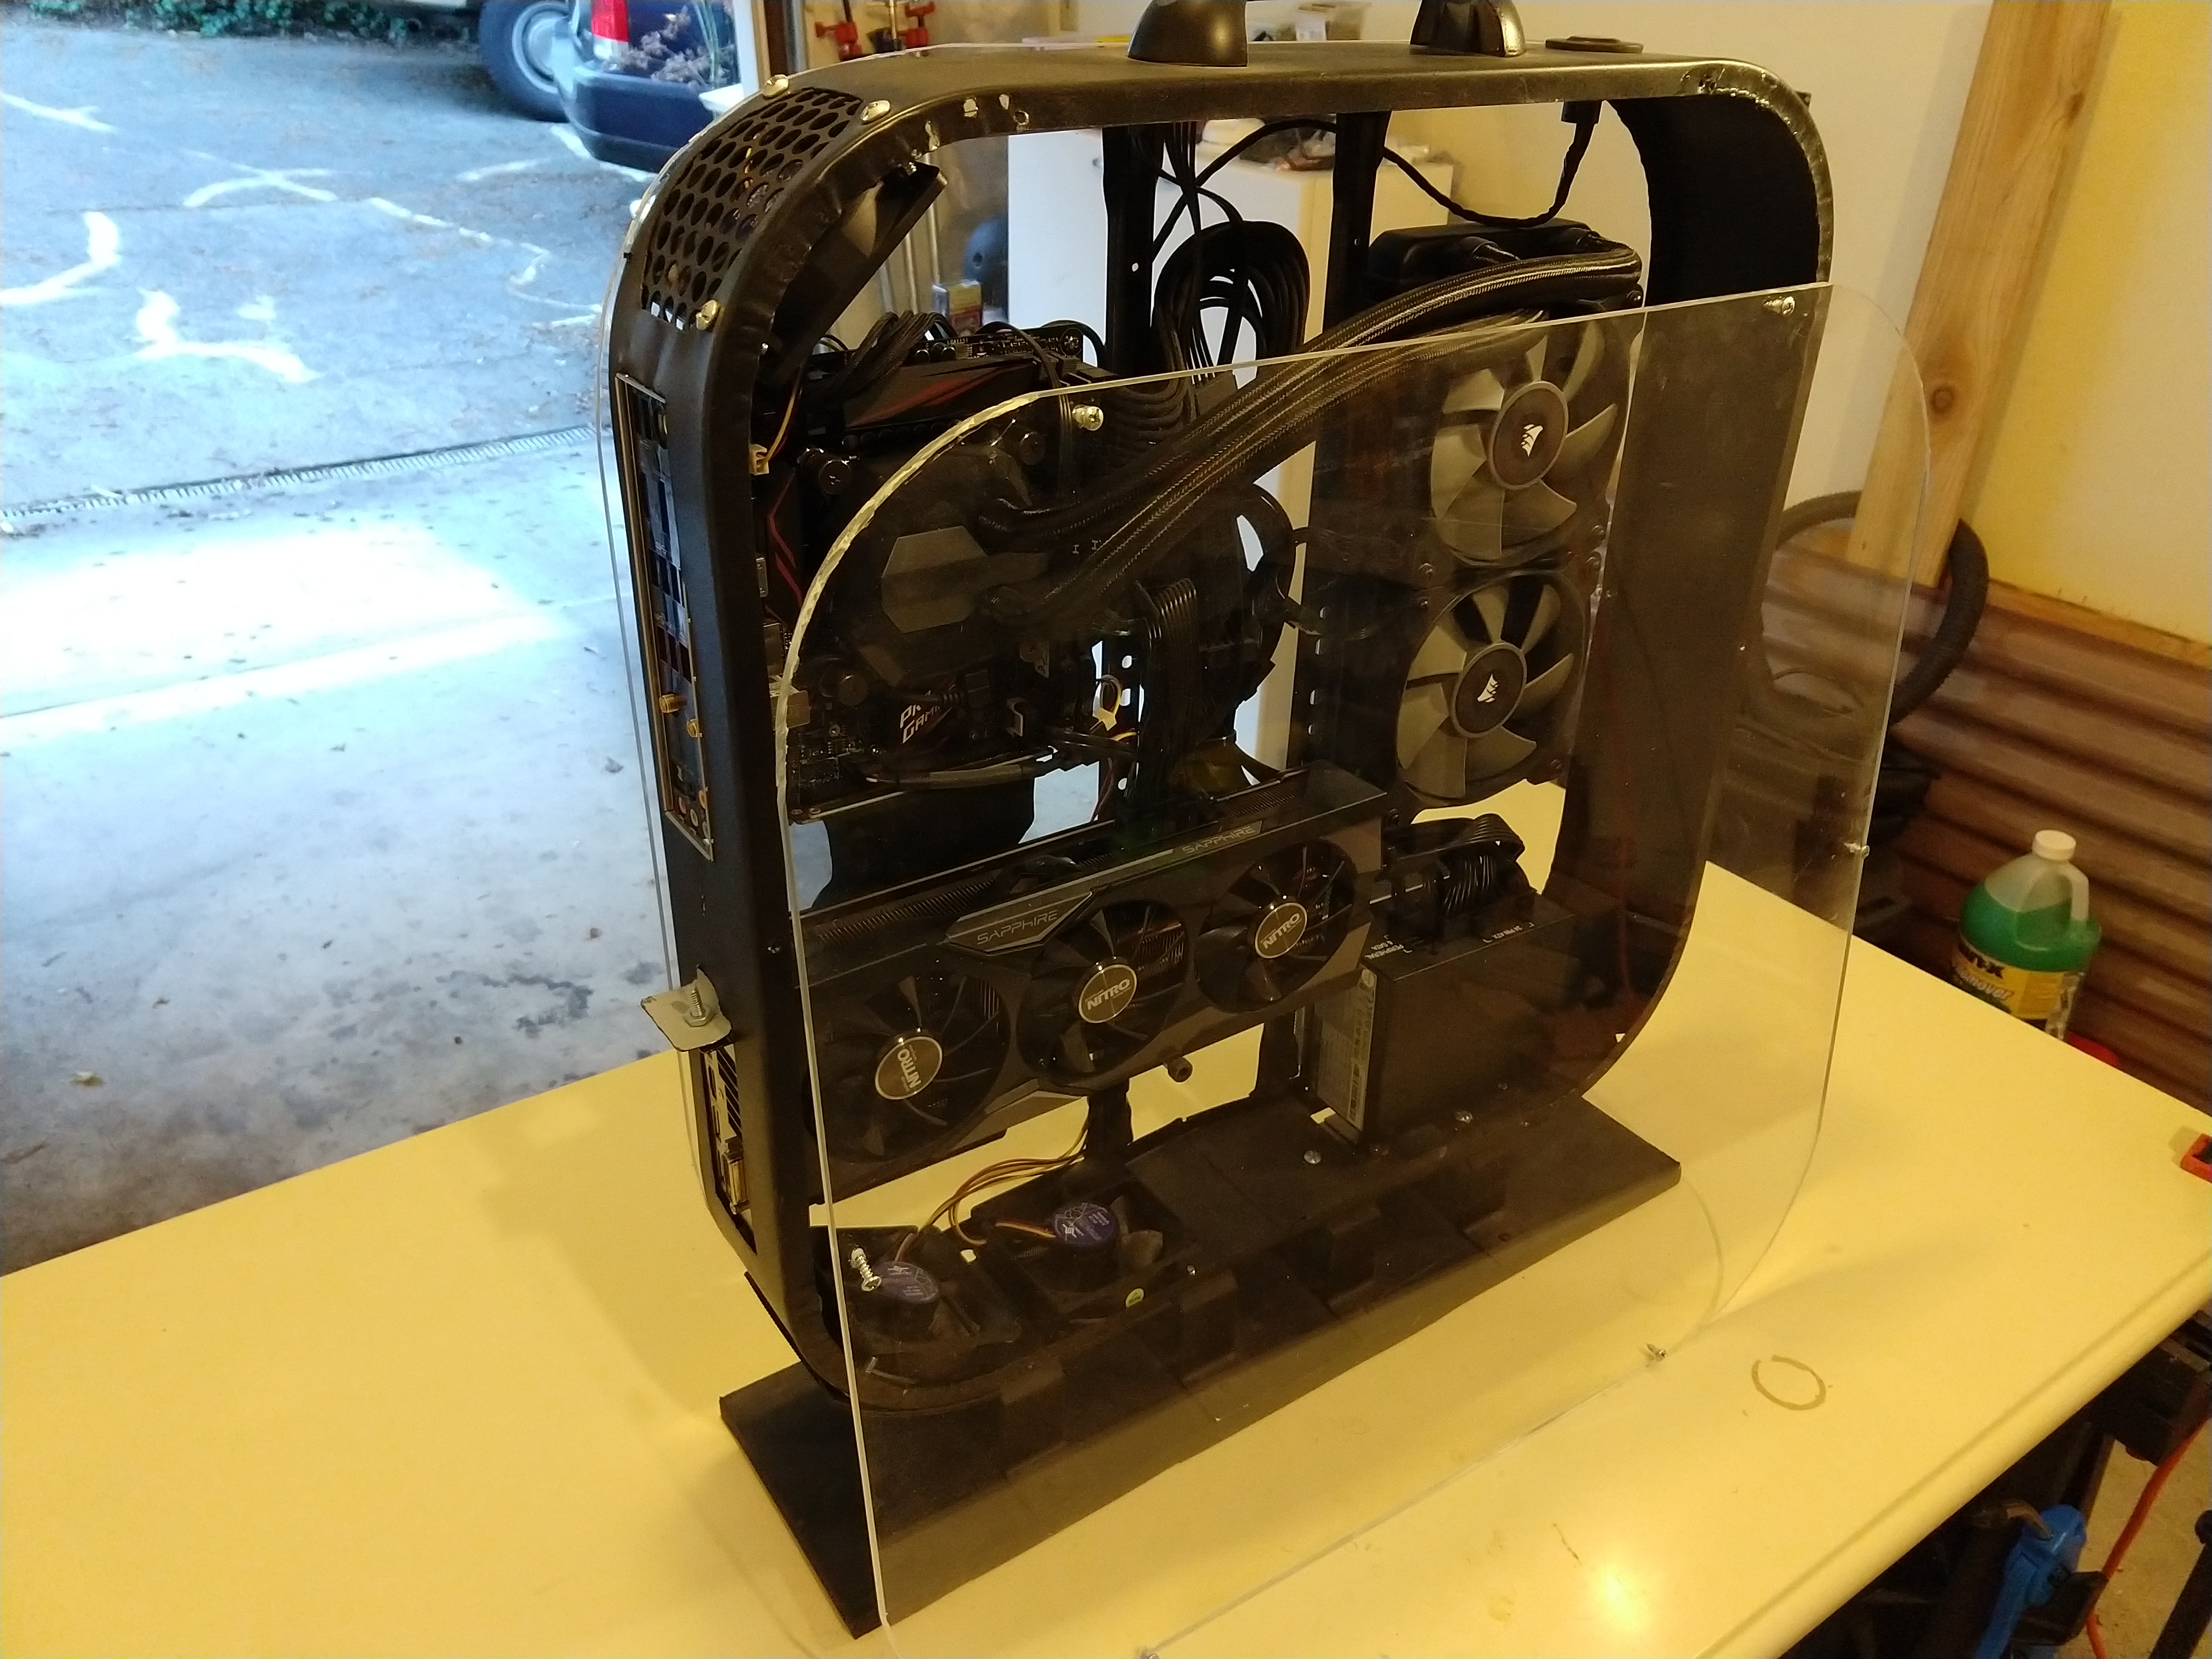
Last summer I was building a new PC and I had some specific requirements for the case: it had to be able to fit a full-size graphics card and CPU cooler, but it couldn’t be more than about 4 inches wide, and the price had to be reasonable. I didn’t have any specific length or depth in mind – I just wanted it to fit under my desk without taking up a bunch of horizontal space. I couldn’t find anything that fit the bill, so I ended up building my own:

It’s built in a box fan. I had a broken fan laying around and it was essentially what I needed: it’s steel, it’s big enough but not too big, and it’s free. All that was missing were the sides, holes, and mounts where PC components would be hooked up. Those are easy enough to put together.
The case
The meat of the case is the box fan itself. Obviously the blade, motor, and wiring have been removed. The feet were replaced with a more robust foot:
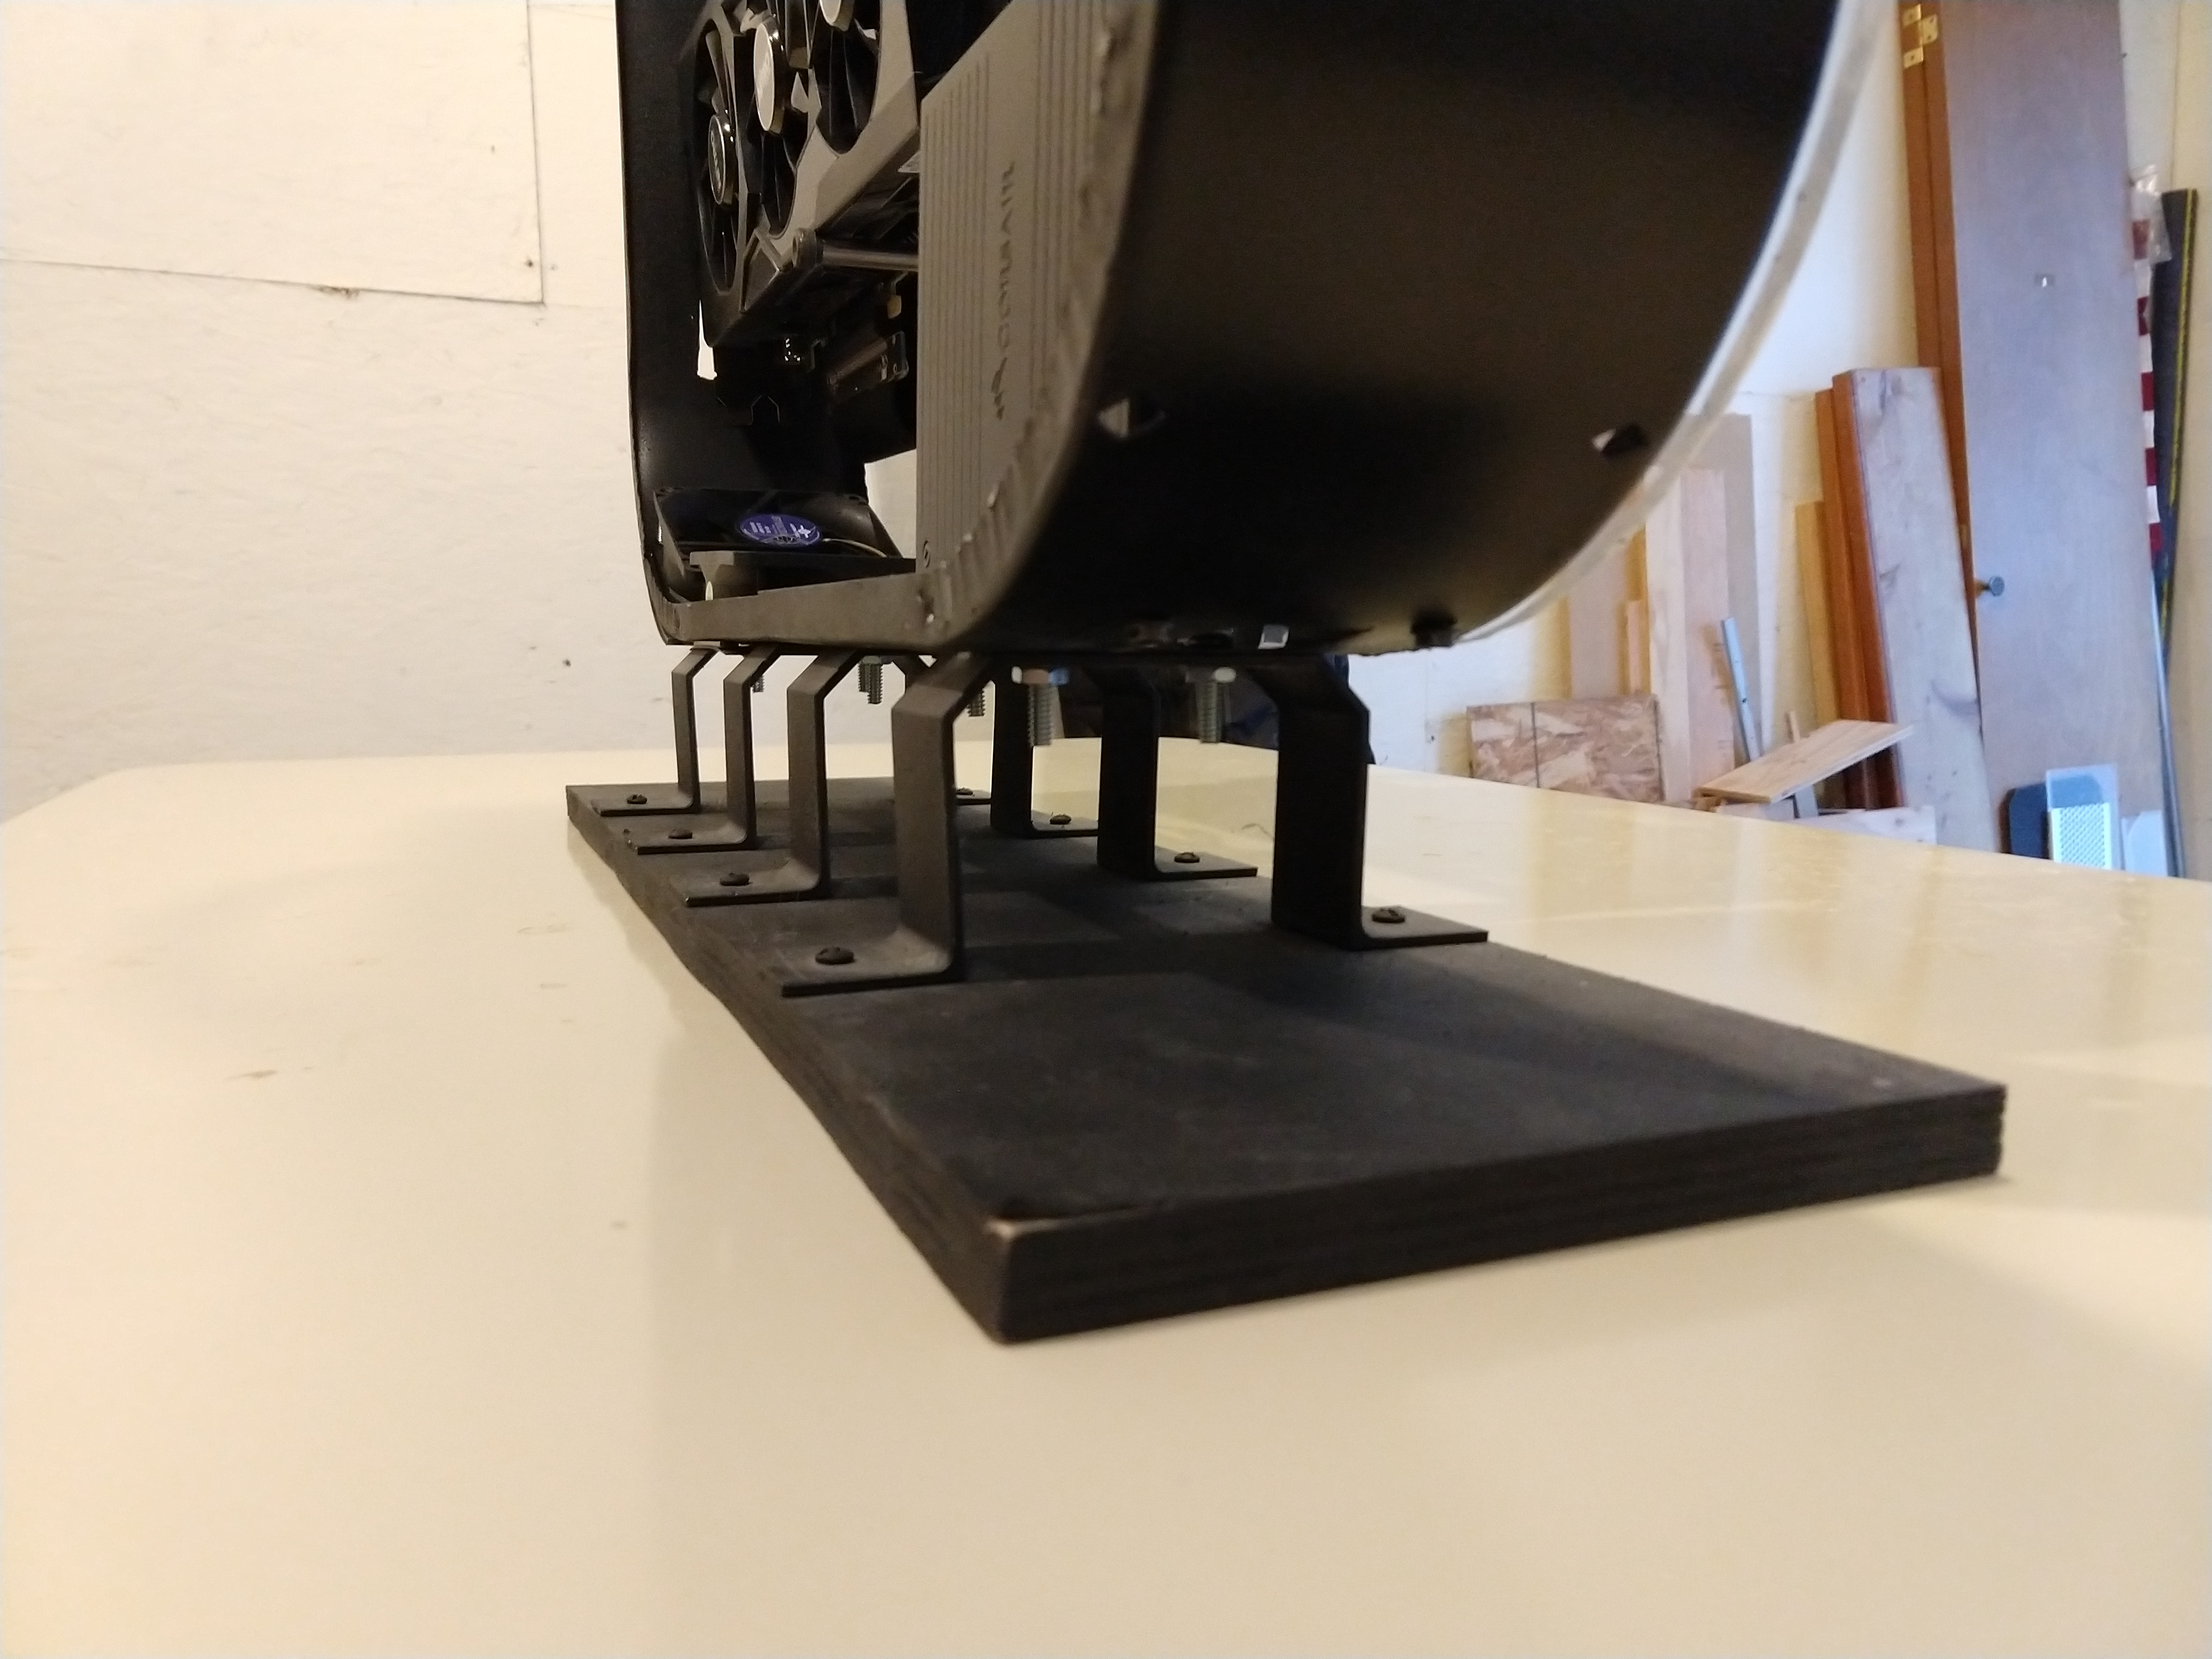
The foot is made out of a piece of plywood and some rain gutter brackets. The plywood wasn’t a great choice as it interacted differently with the paint than the metal/plastic, but structurally this worked out. The foot shape and attachment also had to account for the airflow and power cord. The power cord plugs in at a right angle and runs back through the foot.
Finally, some airflow moves through three cutouts in the case itself: the top-rear corner, the bottom-rear corner, and the power supply in the bottom-front.
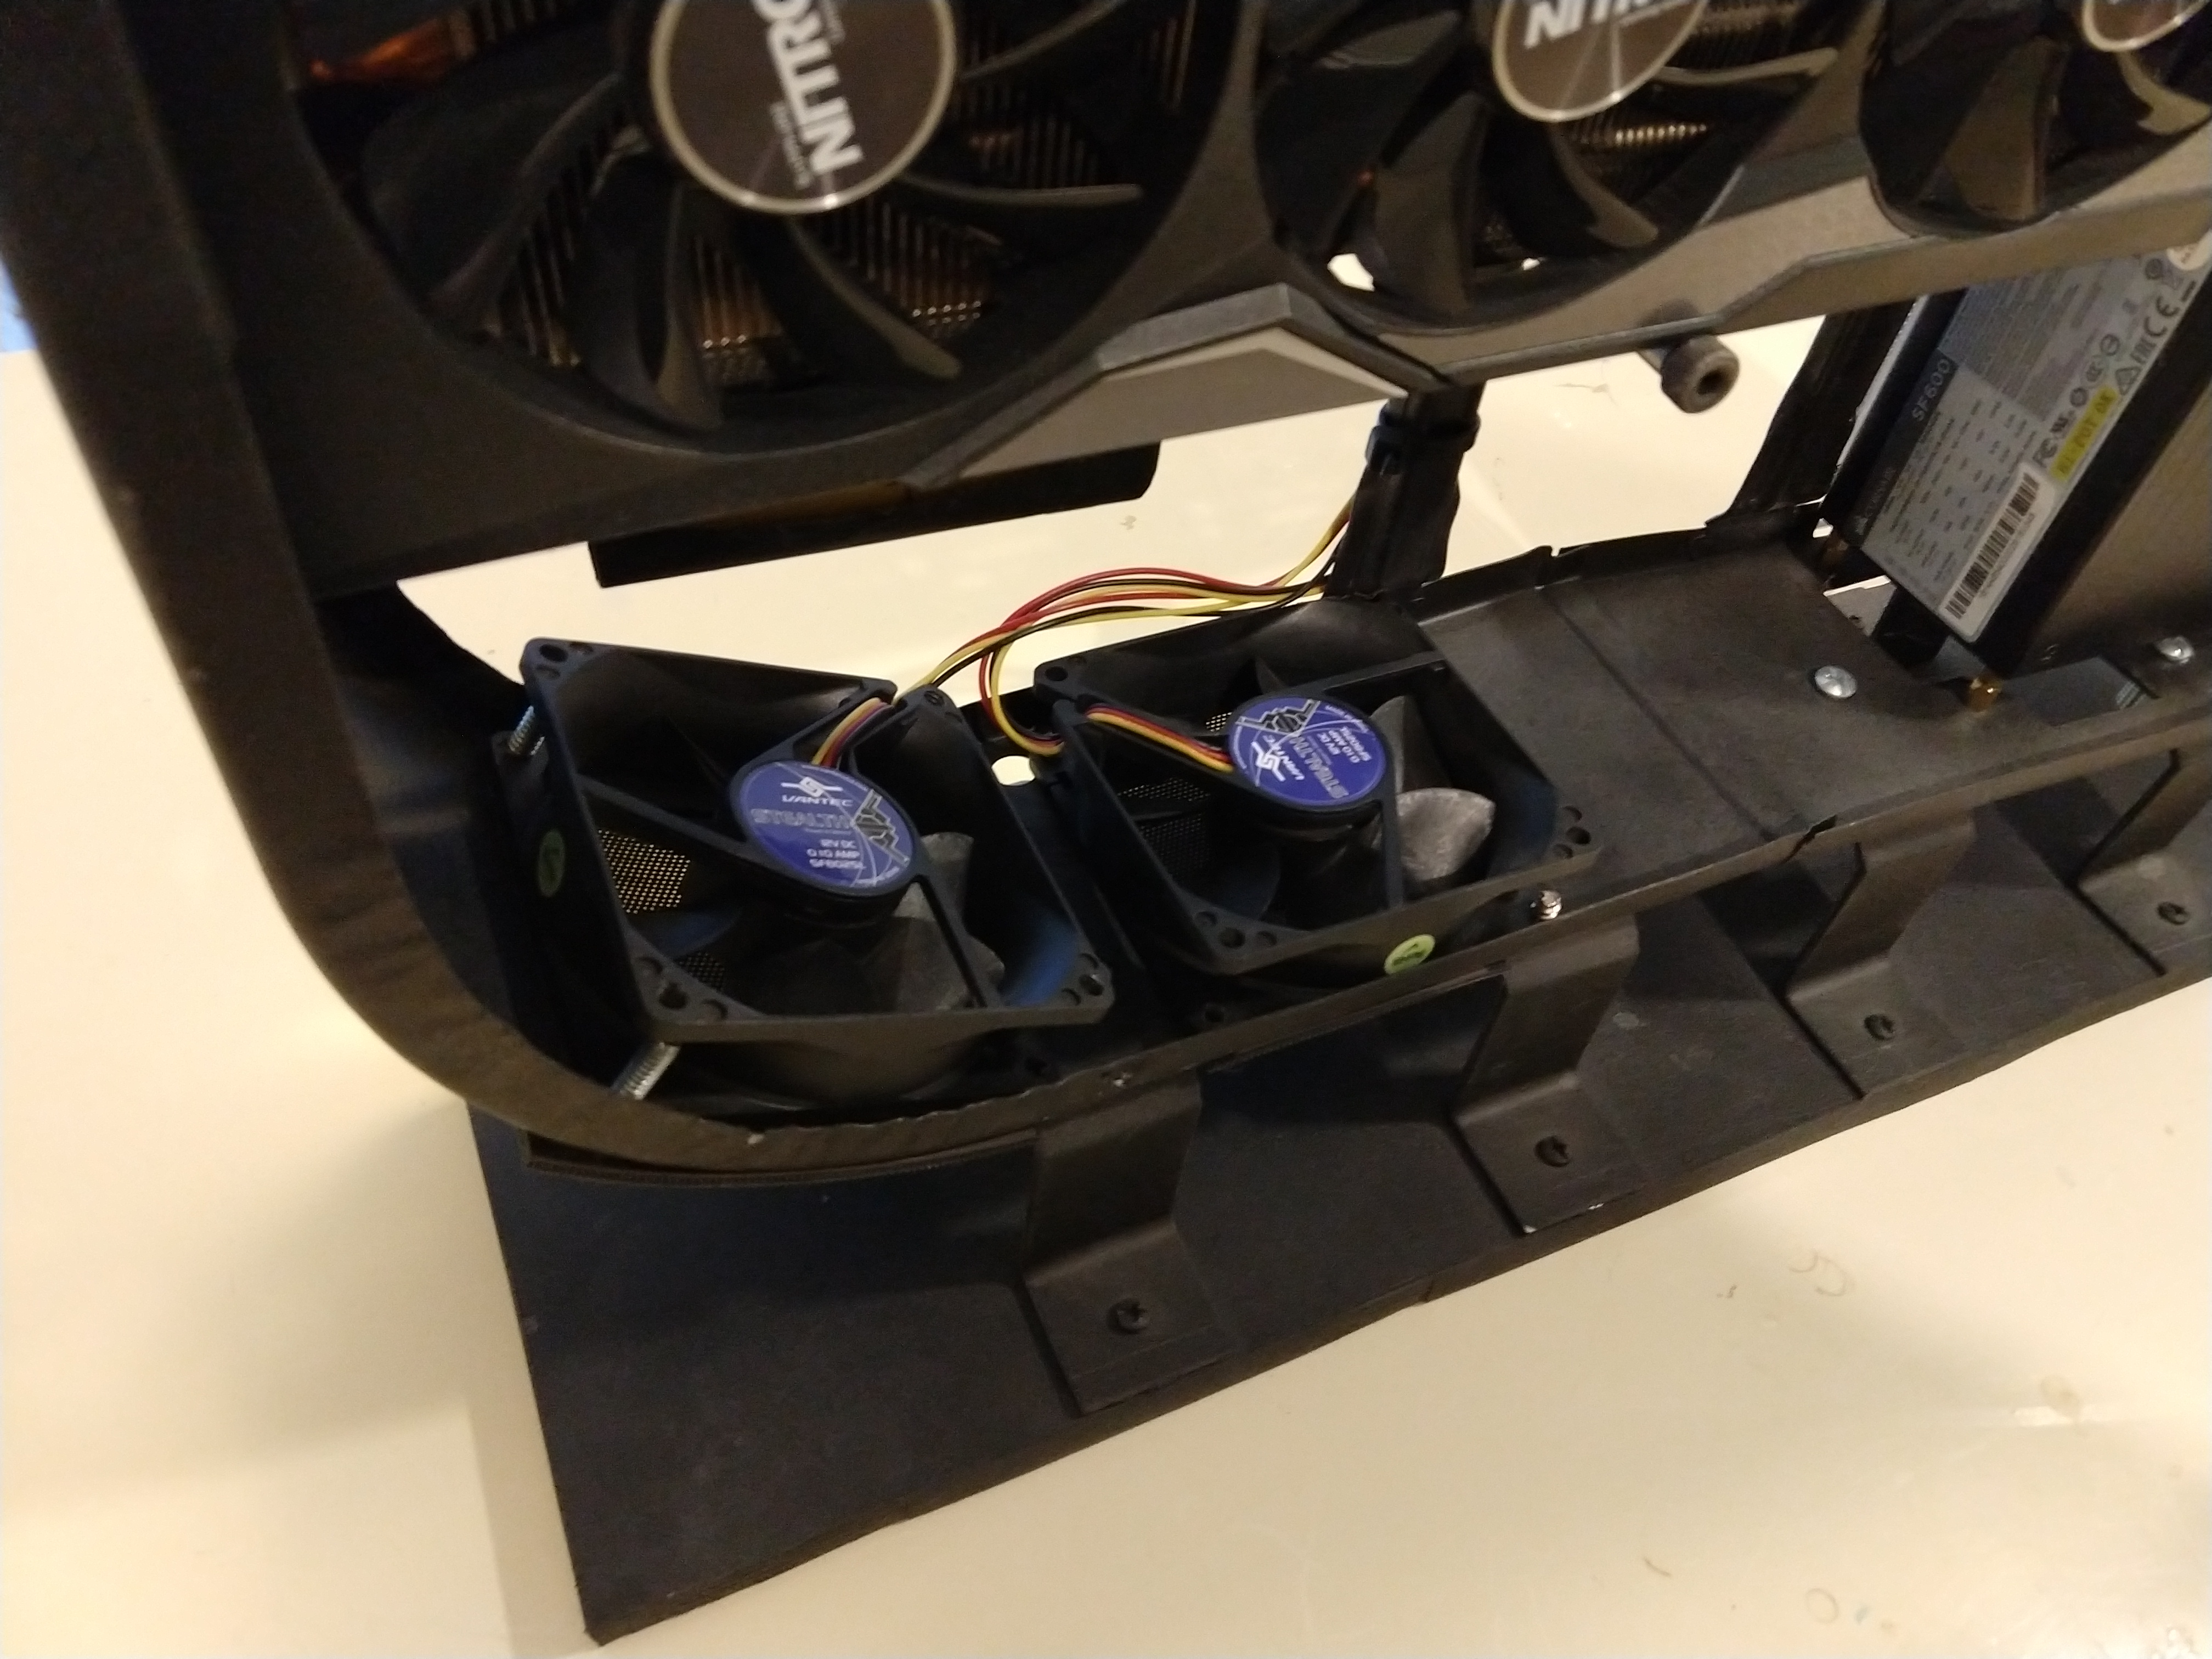
Along with the airflow in the sidewalls (more on that later) that’s been sufficient.
Otherwise the case is largely unchanged aside from paint. As “paint” I used Plasti Dip, which gave it a smooth, even surface. That worked pretty well but in the future I would try to do something like a powder coat. Plasti Dip does not work well if you have to tighten a bolt against it – the bolt/nut will catch the coating and pull it away from the surface.
Side walls
The side walls are simple acrylic plastic. I went with clear as that was readily available, but I would probably opt for something with partial opacity next time. Clear sides just make it easy to see all the dust that’s collected inside, while a smoked acrylic would hide that. Acrylic worked well – you have to be careful drilling through it, but cutting it is easy and it’s durable enough to resist bumps and scratches. That said, leave the plastic wrap on it until you’re done working on it.
Motherboard mounting
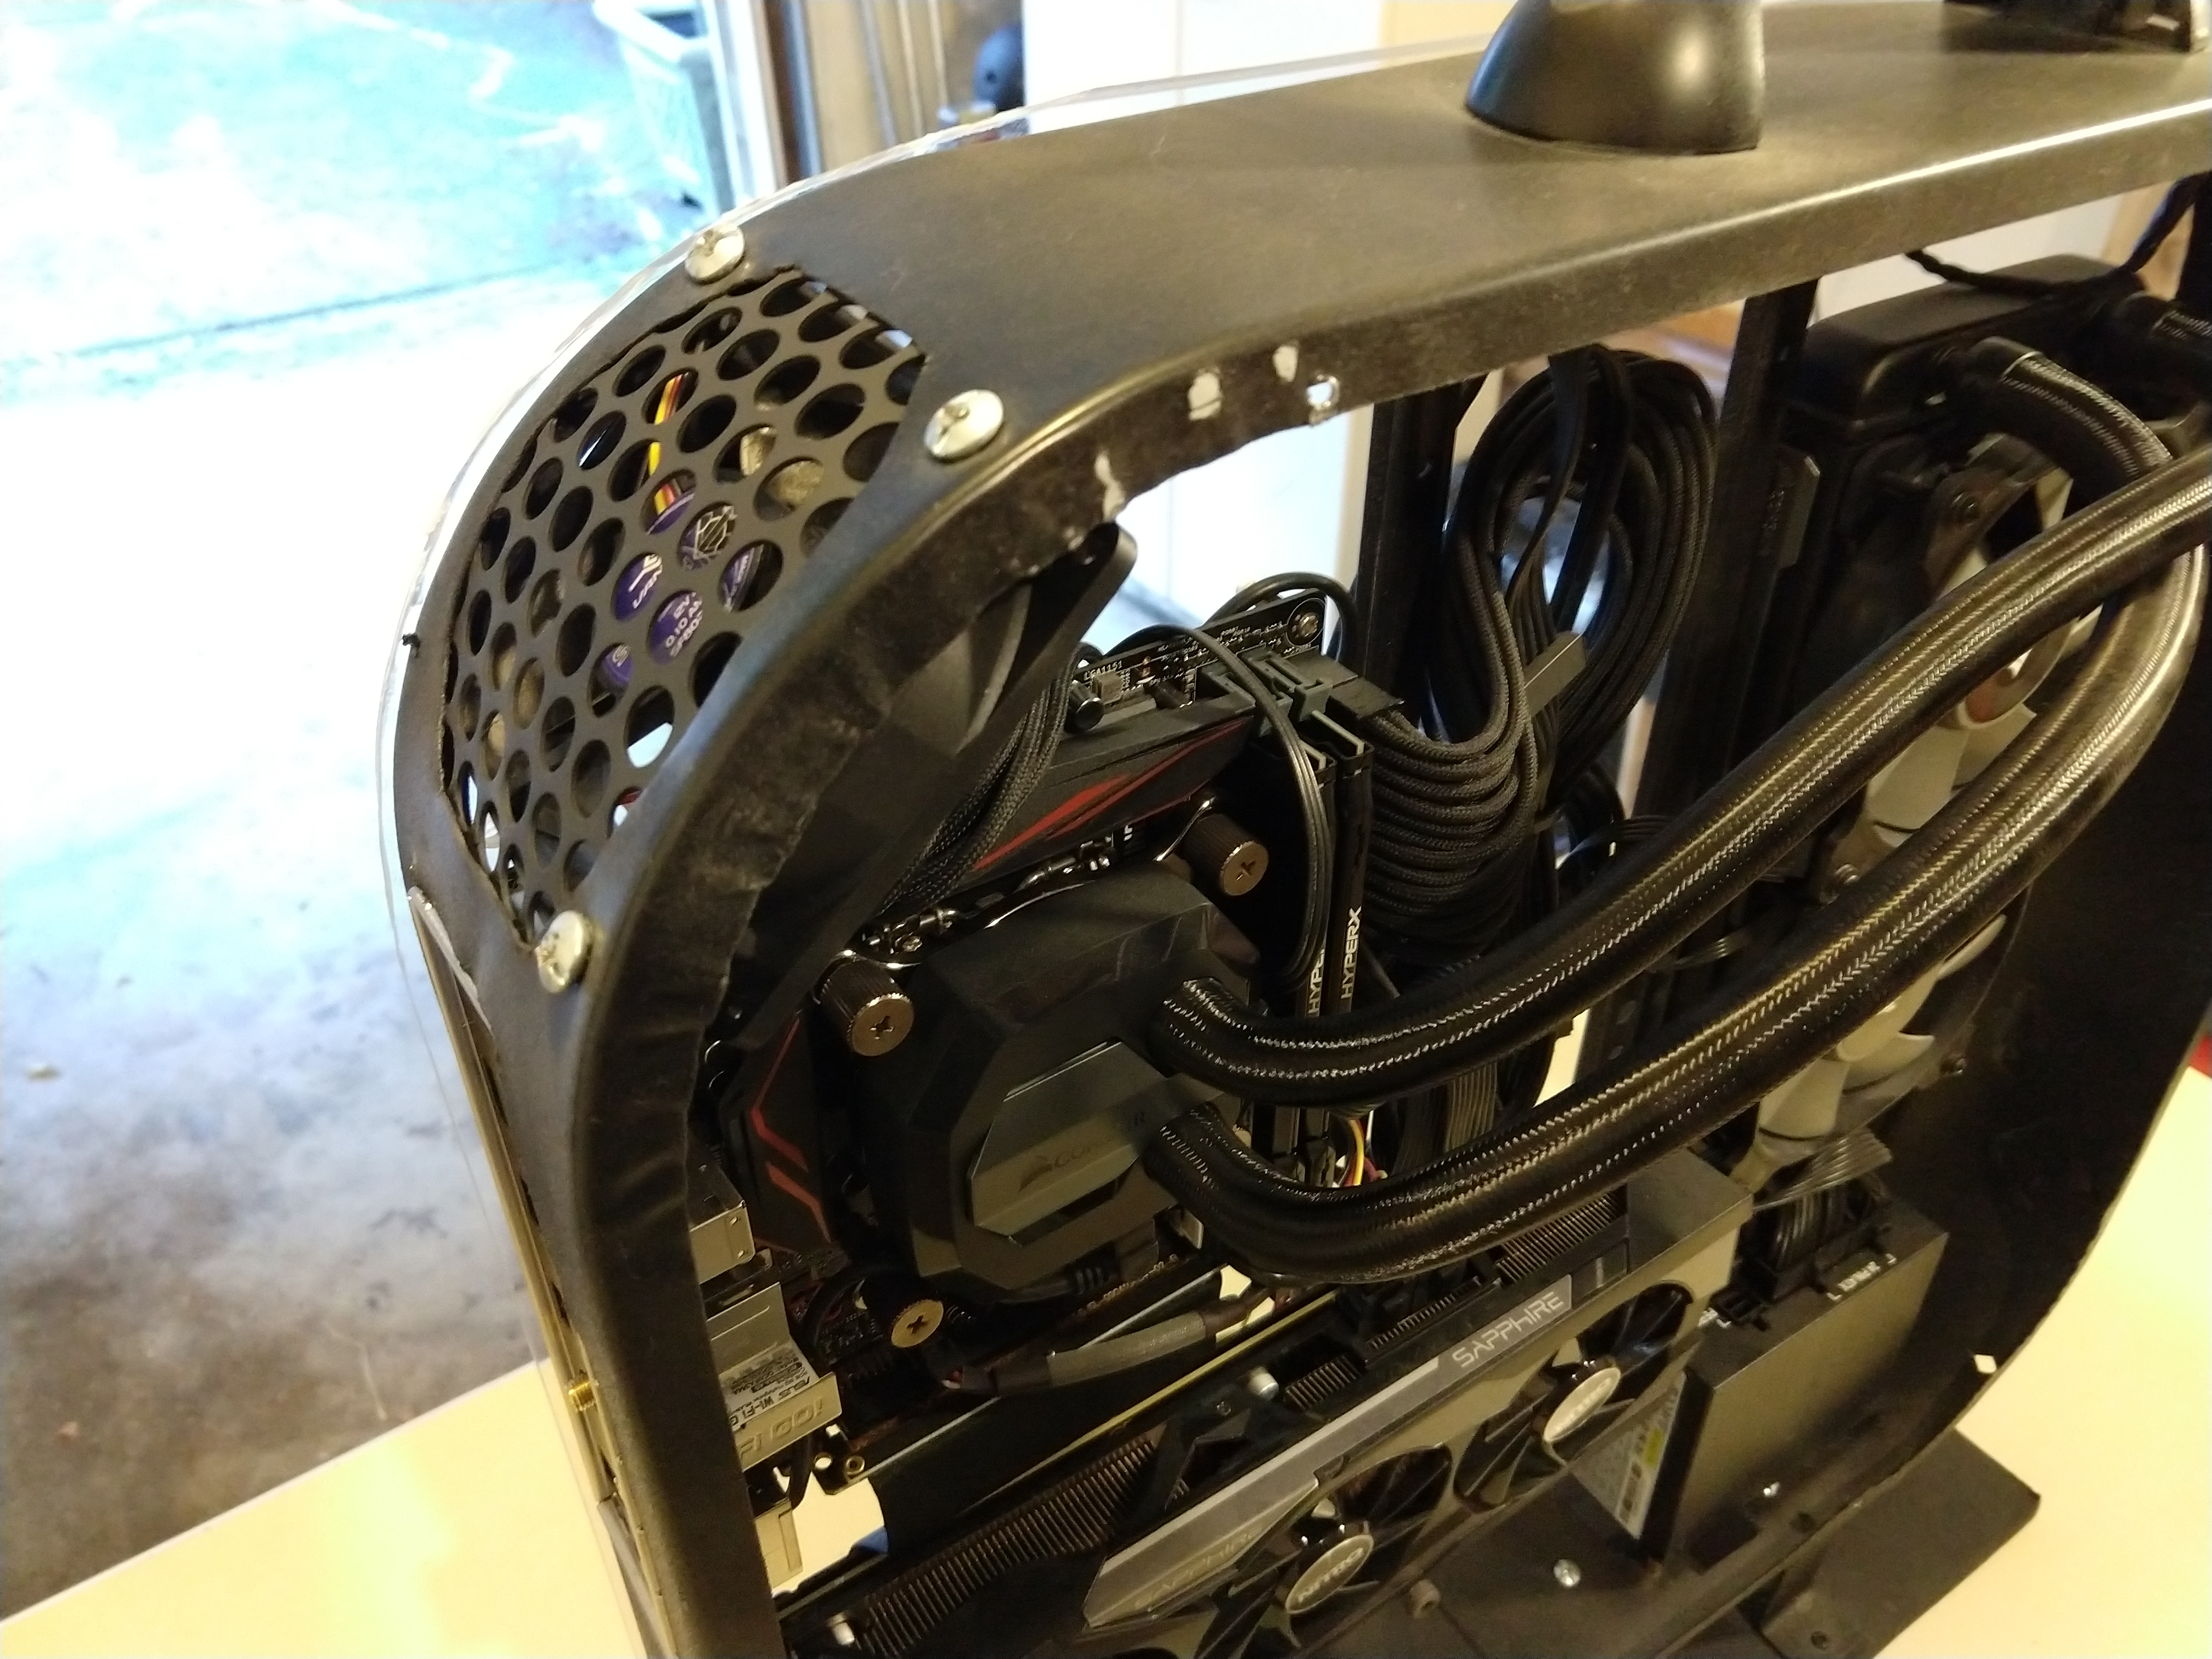
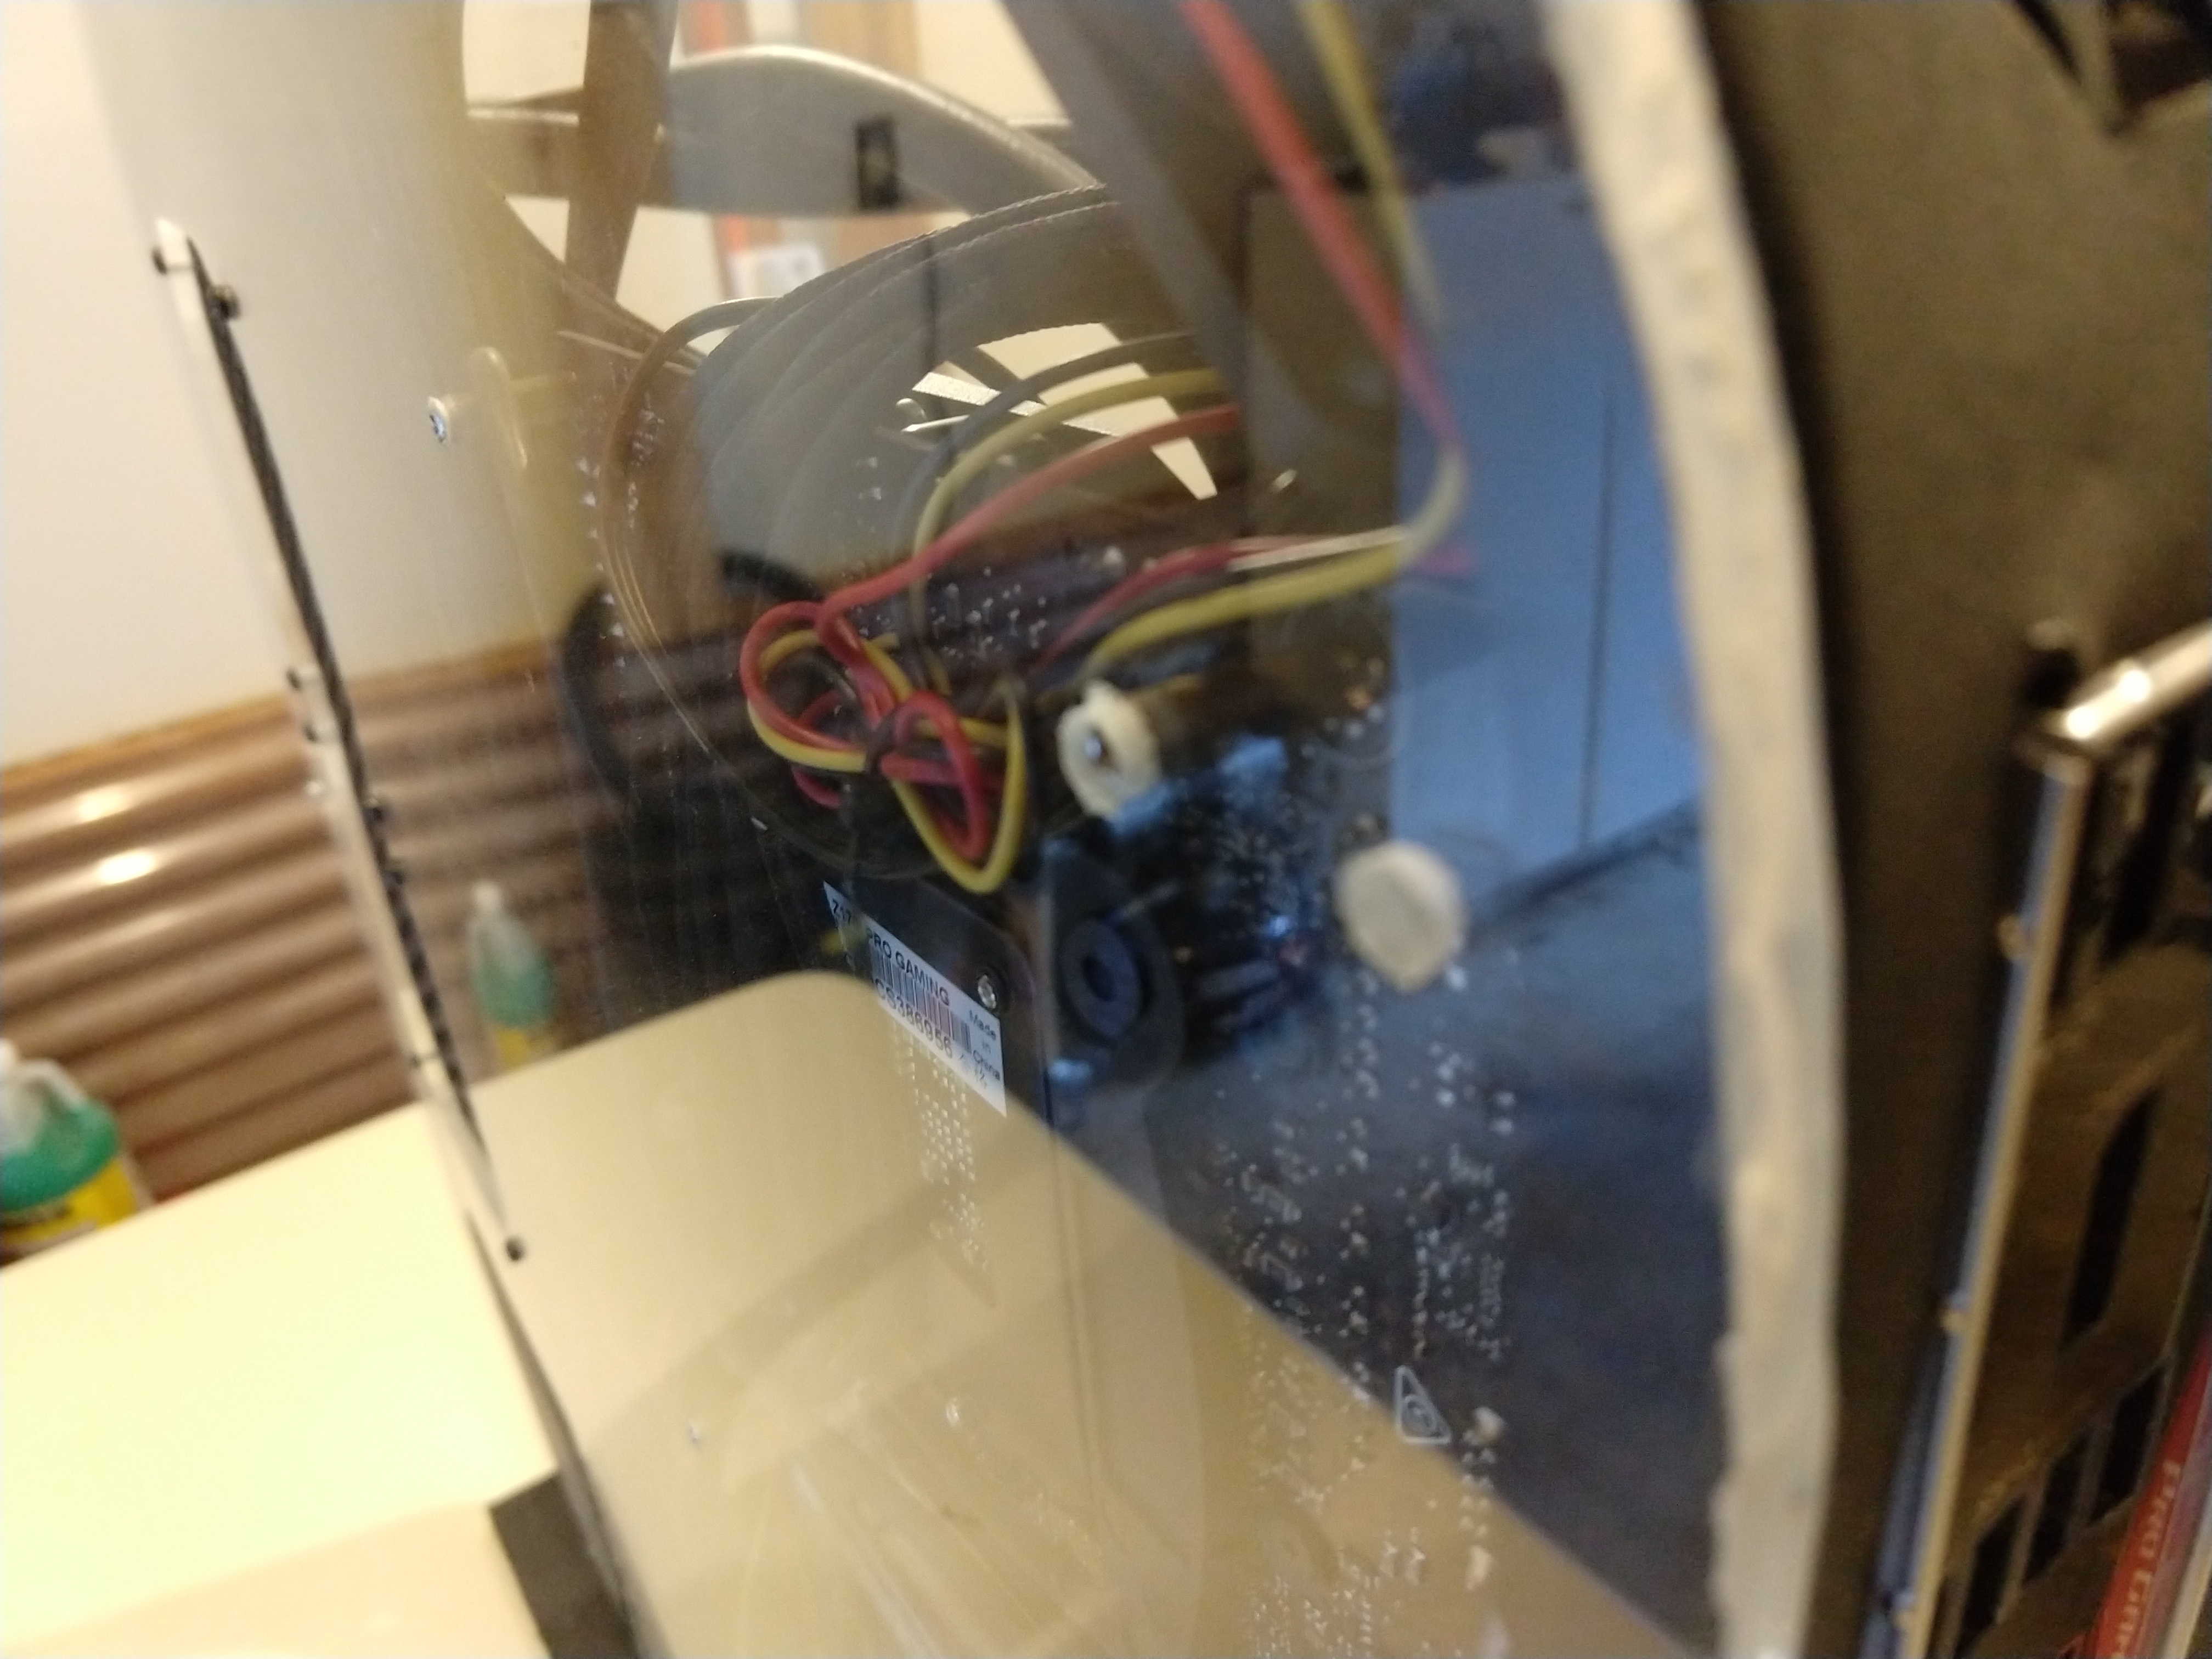
I went with a Mini-ITX motherboard for the small form factor. I didn’t need any of the features unique to ATX or micro-ATX boards, so the size was all that really mattered. I ended up with the ASUS Z170I PRO which has served me just fine.
Mounting the motherboard (and CPU) was simple enough. I drilled holes in the side wall and used brass standoffs to keep some distance between side wall and underside of the board.
I also cut a hole in the rear for the I/O plate. I used a rotary tool with a diamond wheel.
Video card mounting
Mounting the video card was more complex. I cut a hole in the rear for the card’s I/O area. Since the bolt holding the card agains the rear of the case is not strong enough on its own, I then mounted a shoulder bolt in one of the vertical supports which originally held the fan motor. The video card rests on this bolt. I wouldn’t call it sturdy, but it does keep everything in place.

Since the video card is not in a normal position I had to use a PCI Express riser cable. I was skeptical this would work well, so I bought a “premium” one originally meant for cryptocurrency mining rigs. Since then more cases have started using riser cables, so there may be decent ones more readily available.
Everything else
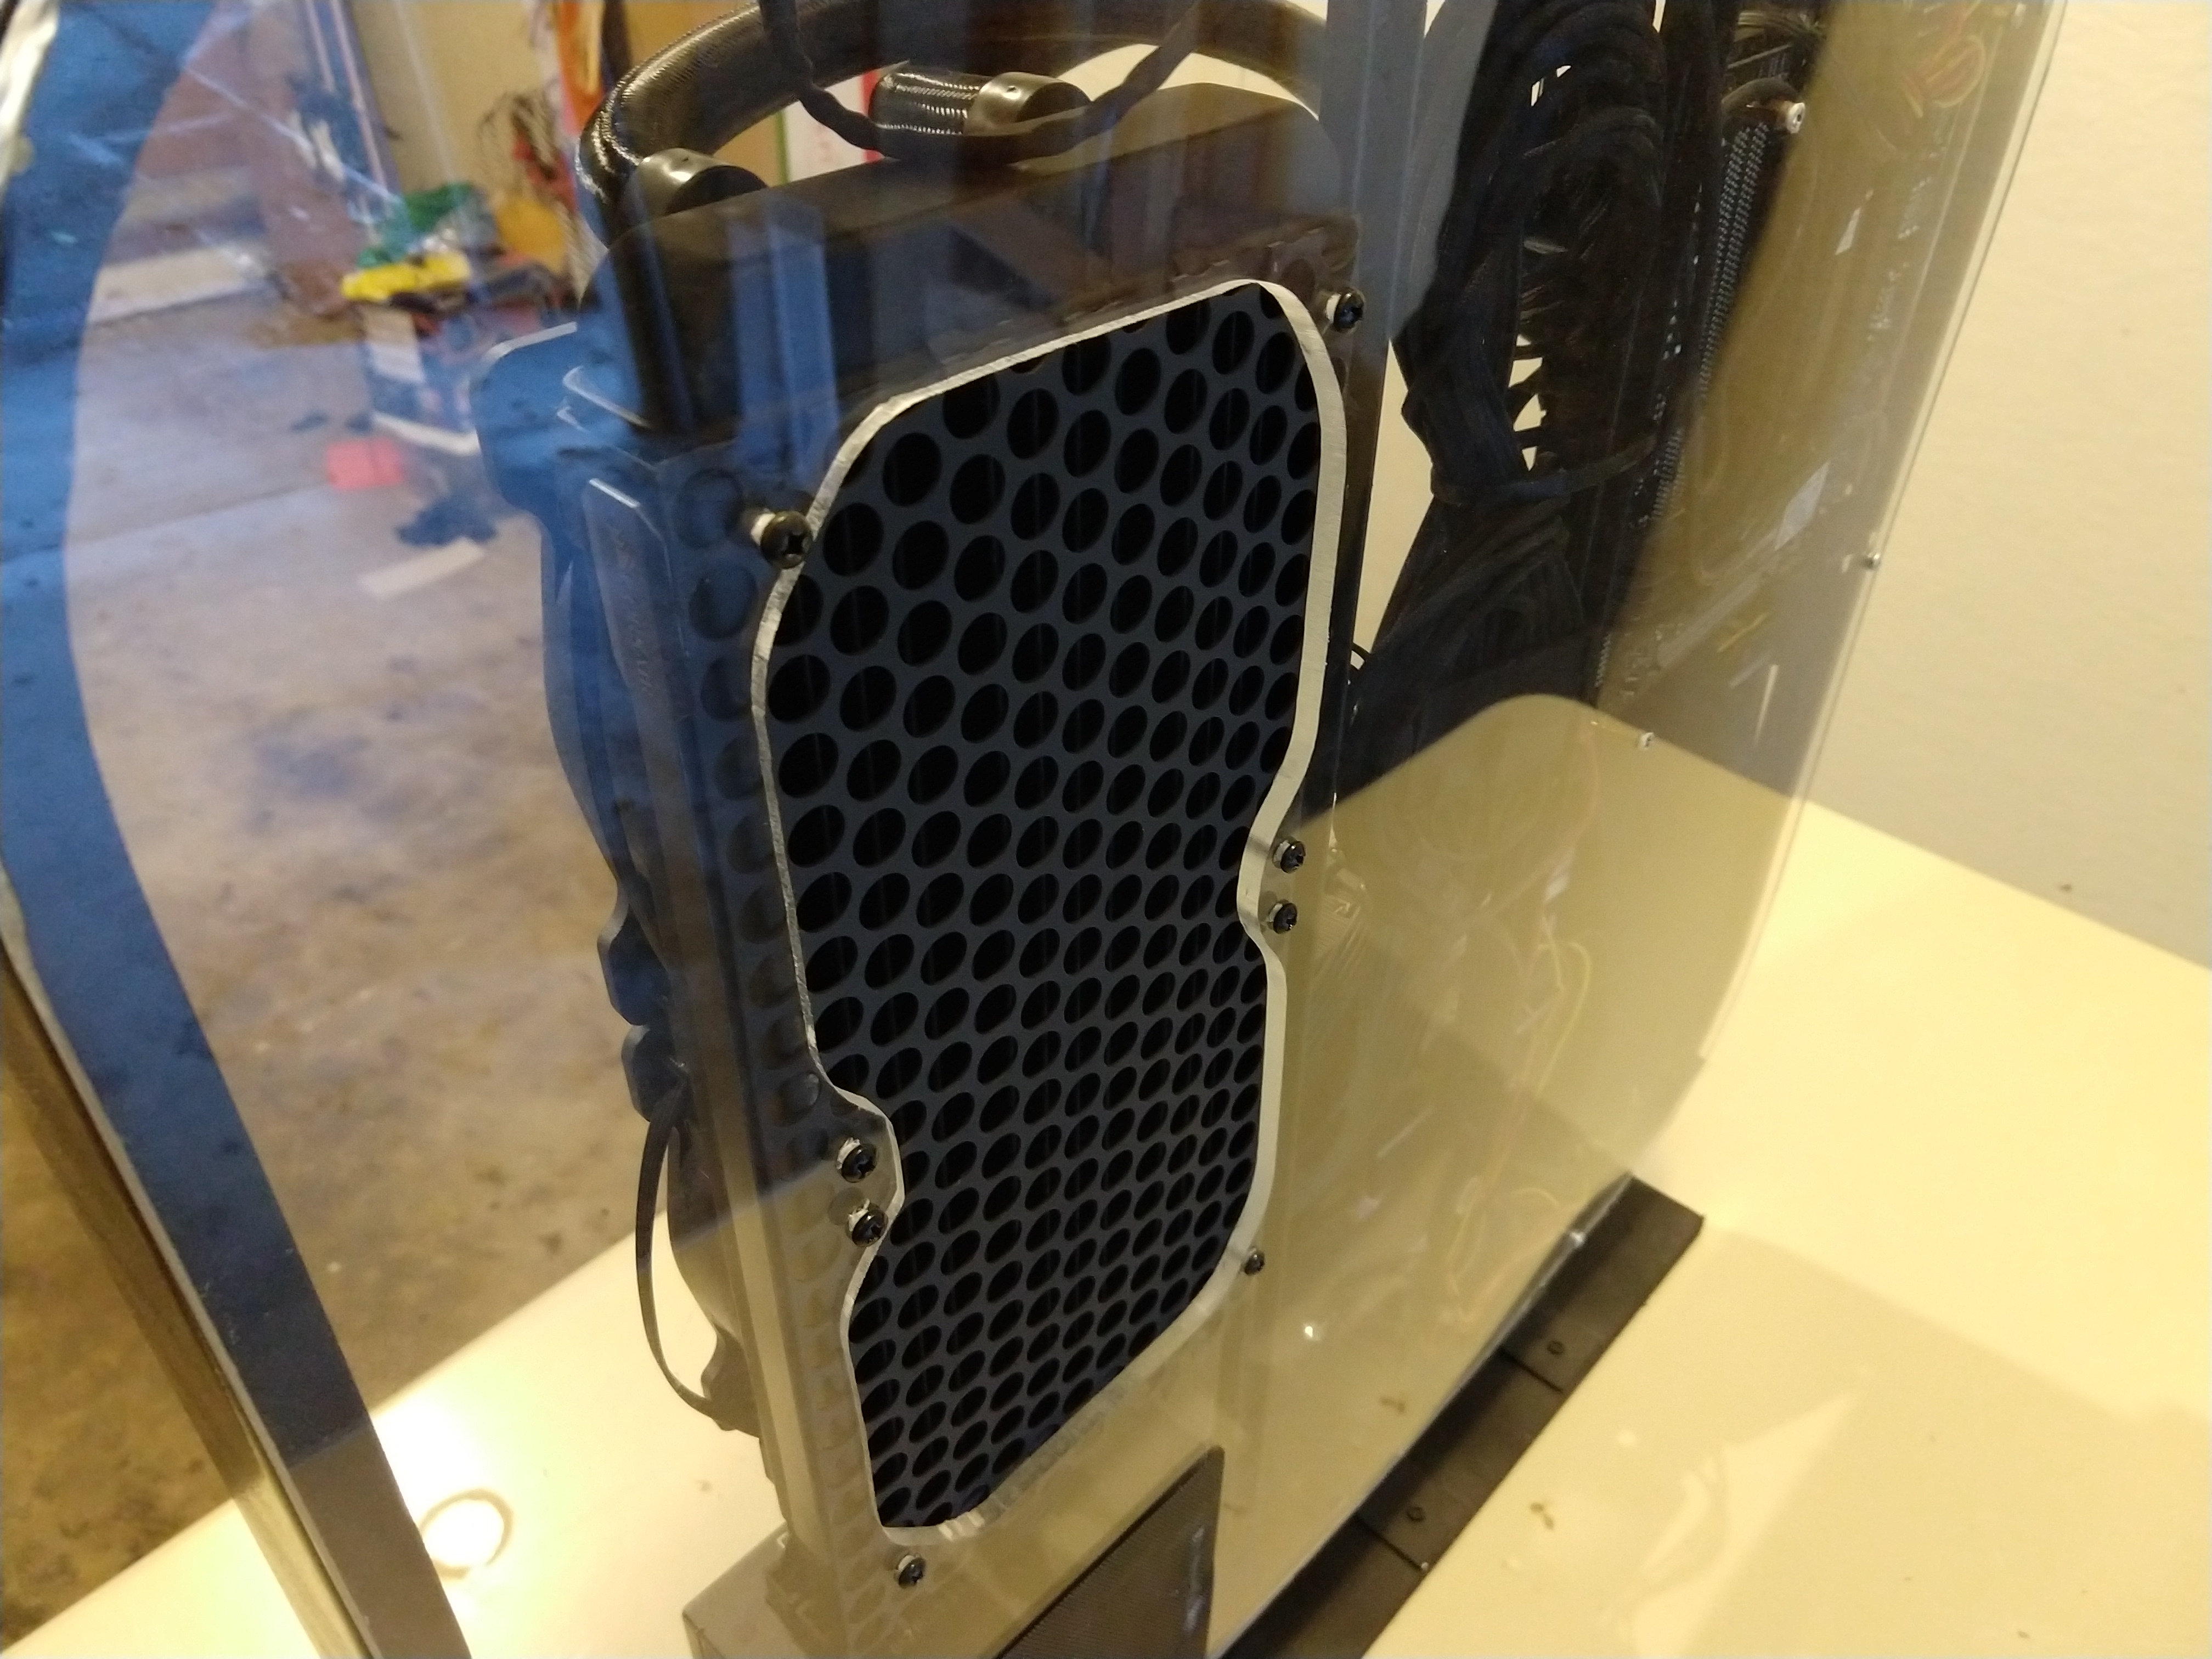
The CPU cooler is a 240mm closed-loop radiator. It’s mounted to the sidewall using the stock bolts. A piece of gutter protector, spray-painted black, sits in front of it to protect the radiator fins from being poked or bent.
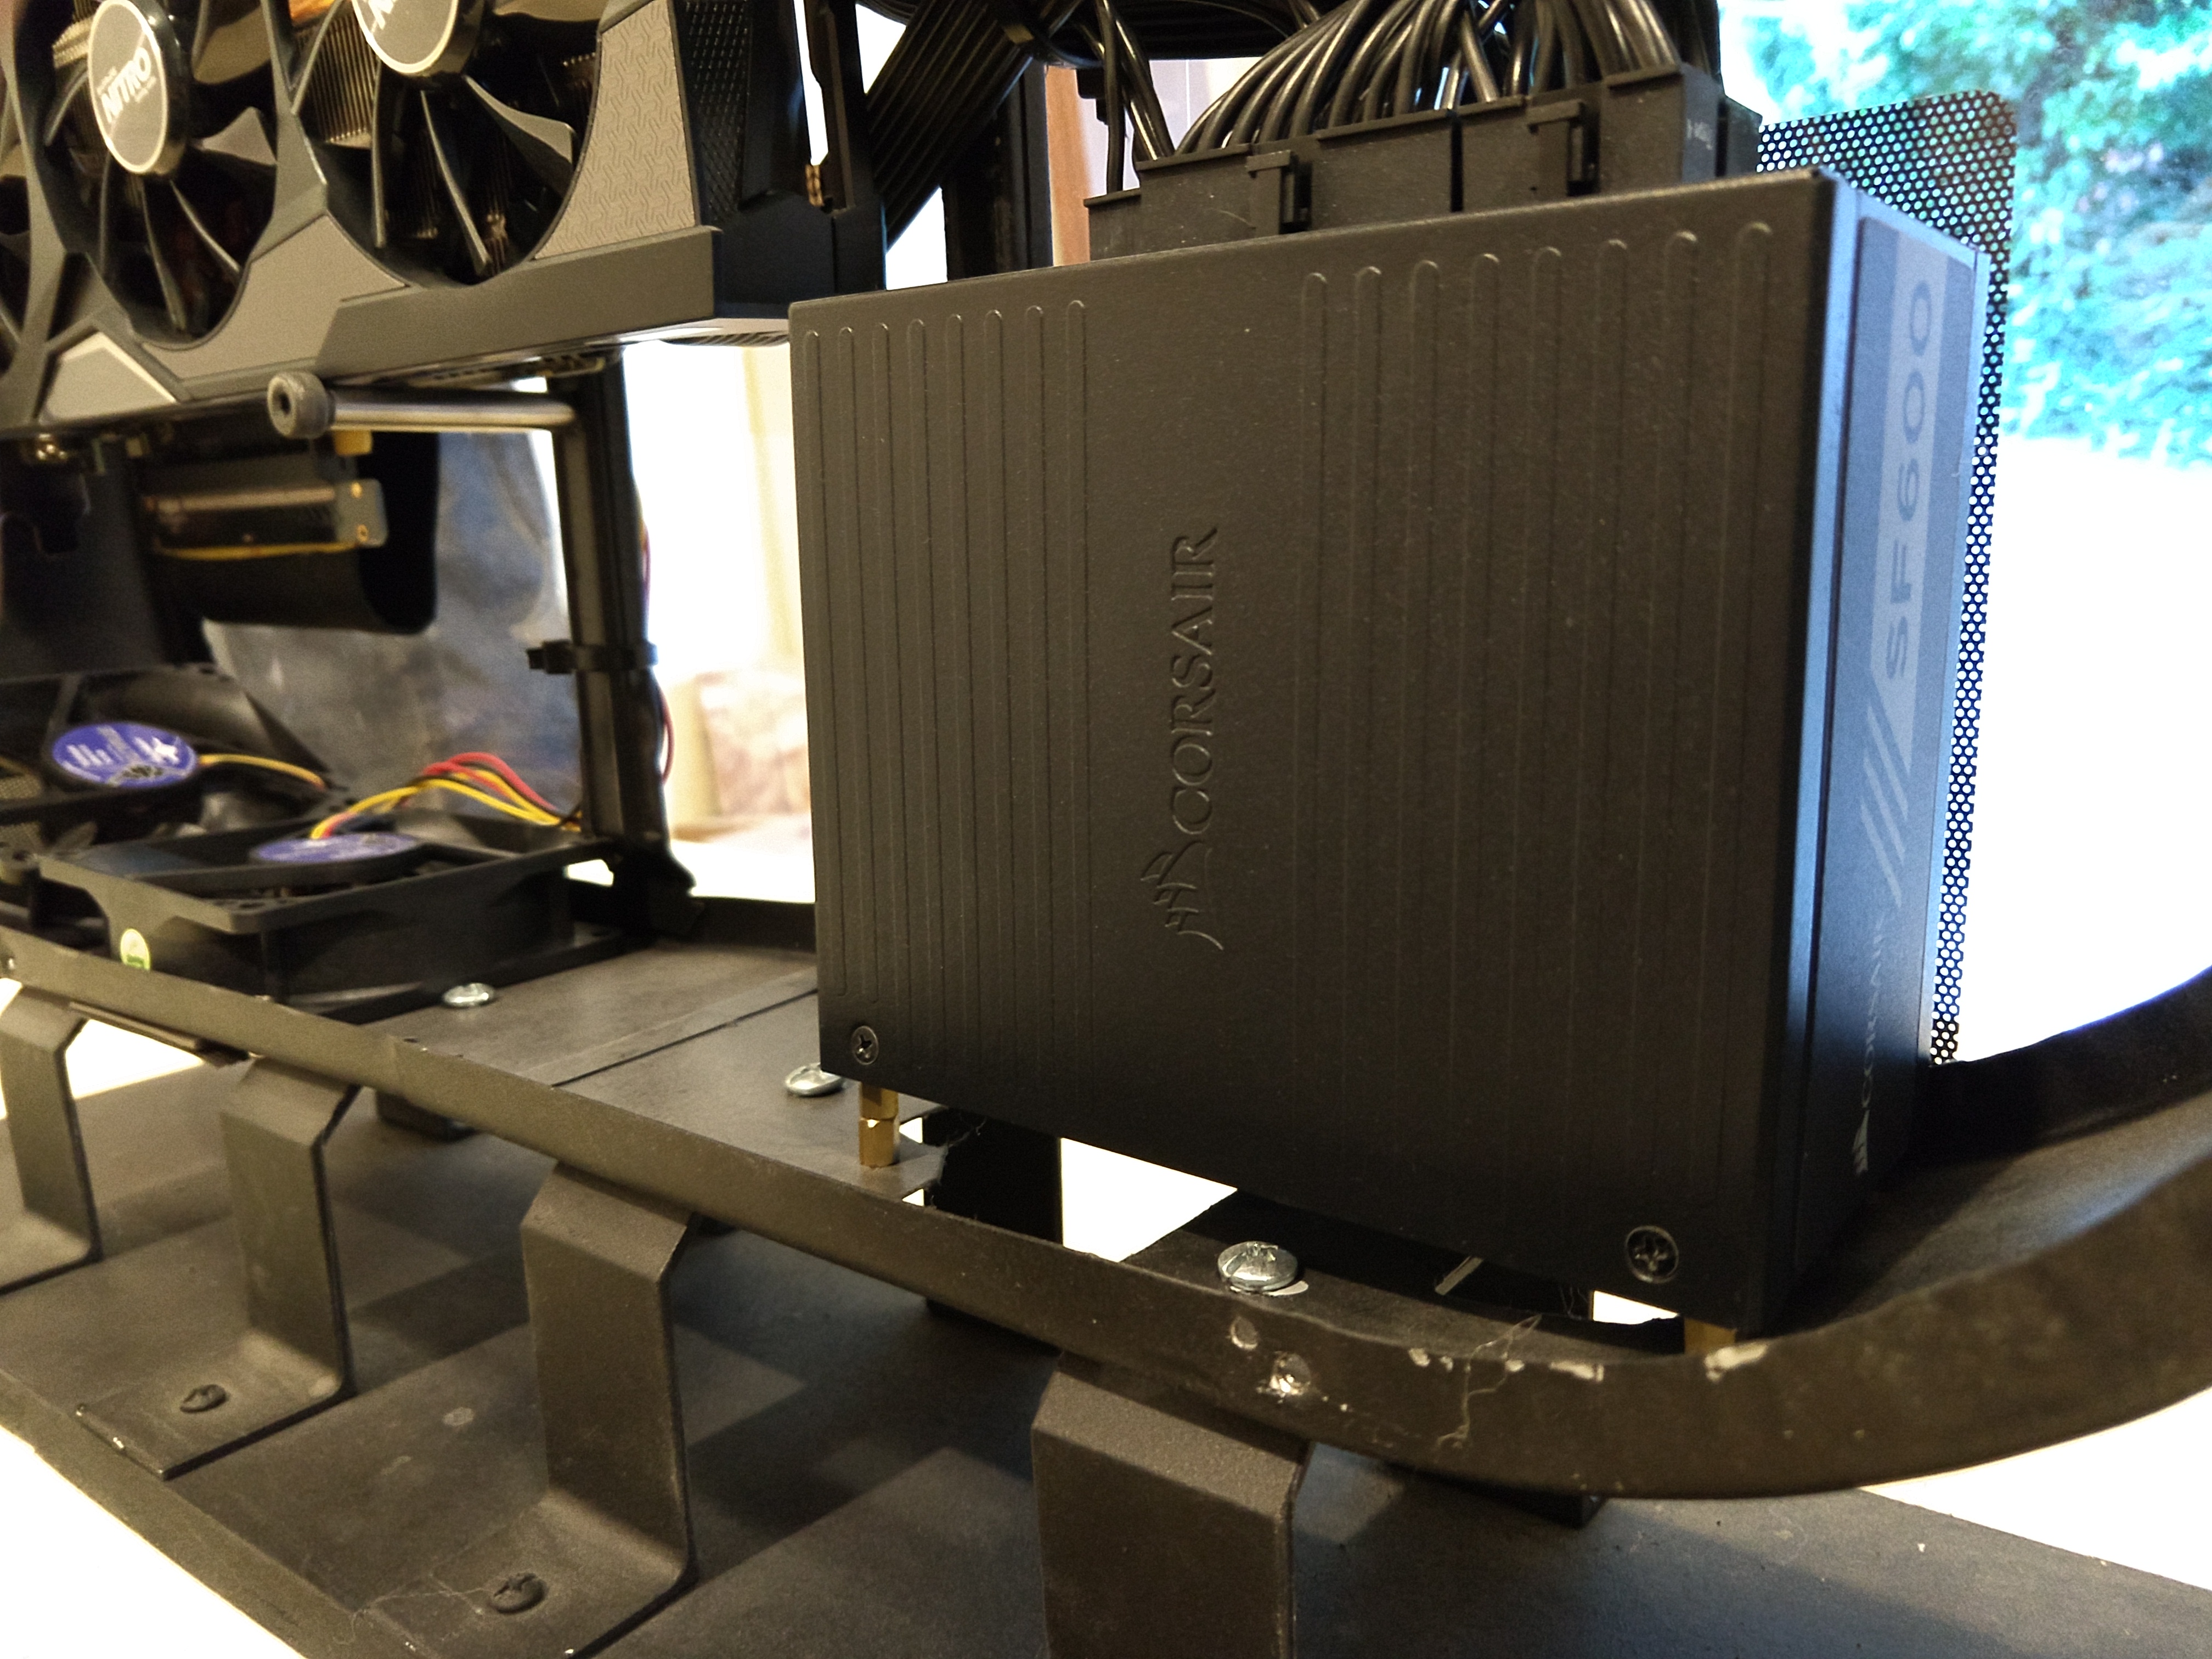
The power supply is an SFX form factor power supply. The tiny size works great for this kind of case. It’s mounted in the bottom steel with brass standoffs.
The power button is a regular momentary switch wired up to the motherboard leads. There’s no reset switch.
The components:
- Motherboard: ASUS Z170I PRO
- Video card: Sapphire Radeon Nitro R9 Fury
- Power supply: Corsair SF600
- CPU cooler: Corsair H100i
- RAM: Kingston HyperX Fury (16GB)
Future changes
Overall the case has worked well. The components have stayed cool and I haven’t had any structural issues with it.
The only real issues are dust, noise, and portability. The dust-proofing isn’t great, with some screens over the intake fans and gaps between the frame and sidewalls. I have to clean it every few months. It also isn’t soundproofed so when the GPU/CPU really start to work hard I can hear the fans kick on. I usually wear headphones so that isn’t really an issue. Finally, since the video card mount isn’t all that robust and the handle was only meant for a light fan I’m not all that comfortable moving it without laying it on its side. That’s not much different than a normal PC case but it would be nice to have something easy to move around.
Generally I’ve been happy with it and I think it won’t be too difficult to improve on it with my next one.